Customizations Elements: Options List
How to add an Options List
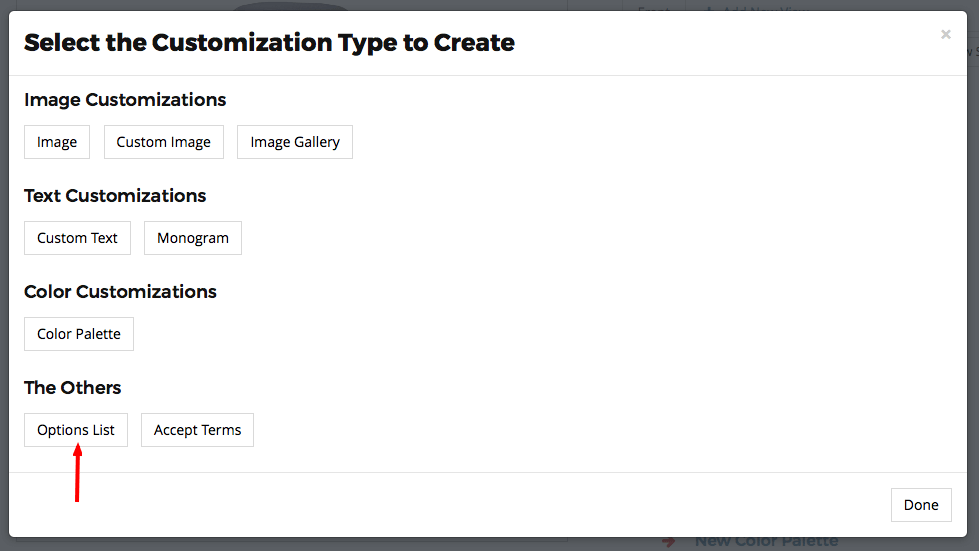
To add an Options List click on the “Add Customization” link or go to the respective layer and click on it’s “Add Customization” button. In the pop-up window click on the “Options List“ button.
Settings
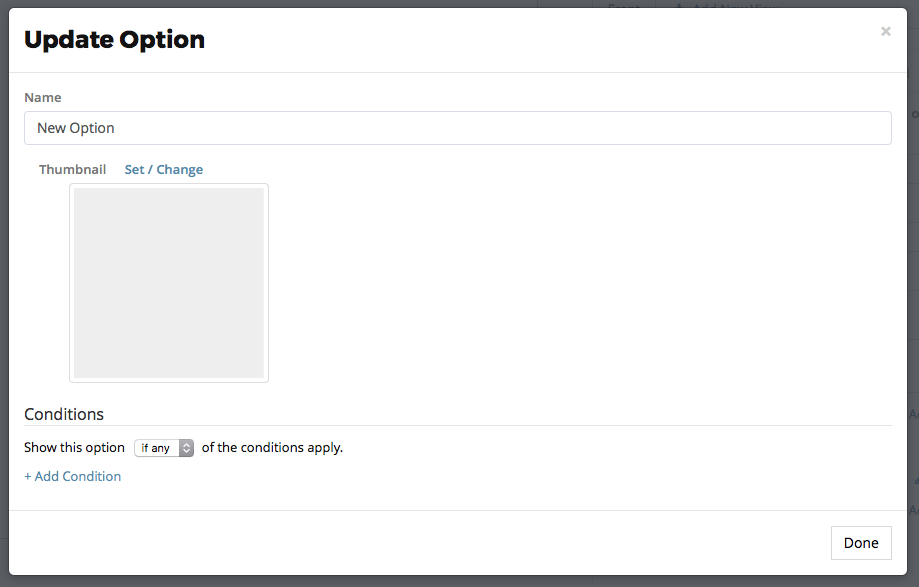
To change the Options List settings click on the respective customization’s item in the Customizations List area. A pop-up will open with the setting’s options.
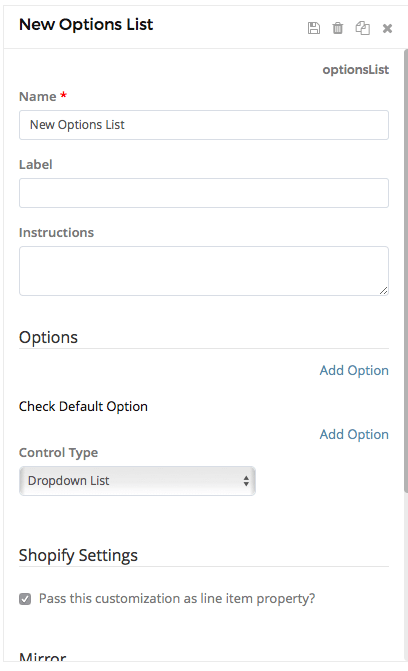
Basic Settings:
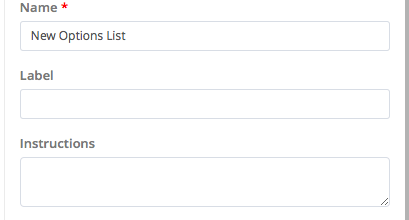
Name: The name or title you want to use for this element. For example: “Options List“.
Label: A user friendly text that we will show customers for this element in the options list. For example: “Options”.
Instructions: You can enter specific instructions that we will show customers in the customization widget.
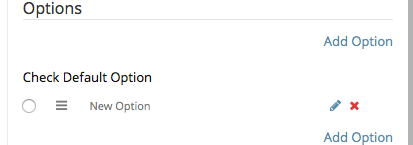
Options:
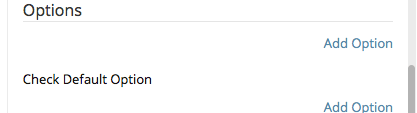
Add Option:
Conditions:
Check Default Option:
Control Type:

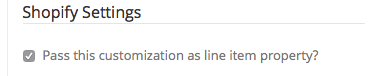
Shopify Settings:
In the Shopify Settings, you can check the “Pass this customization as line item property” to allow the App to make this customization a line item property on Shopify.
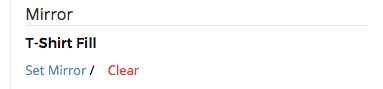
Mirror
Set Mirror

Once you’ve selected an element as a Mirror, you should see your element’s name in the Mirror section.
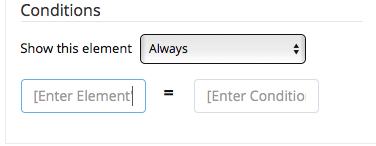
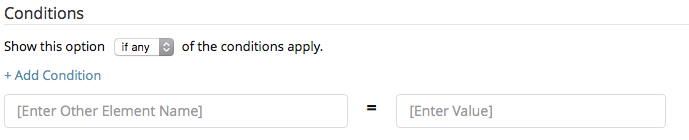
Conditions:
In the Conditions section you can add a conditional statement to this customization. To enable, enter the other Element’s Name and the Condition Value. This customization will be hidden until the customer enter or selects the applicable Condition Value.