Rendering Templates
Using Rendering Templates is optional and you use them to tell the App how to render / generate your production images. This is useful when you want to show customers a layout that is different from what you need in your production images. For example, if you sell custom t-shirts you want your customers to see their customizations or designs on the t-shirt. However, the production image that you need for printing would be have to be only of the applicable printing area and you don't want parts of the t-shirts in it. In this scenario you could use a Rendering Template to tell the App how to render the production images that you need for printing.
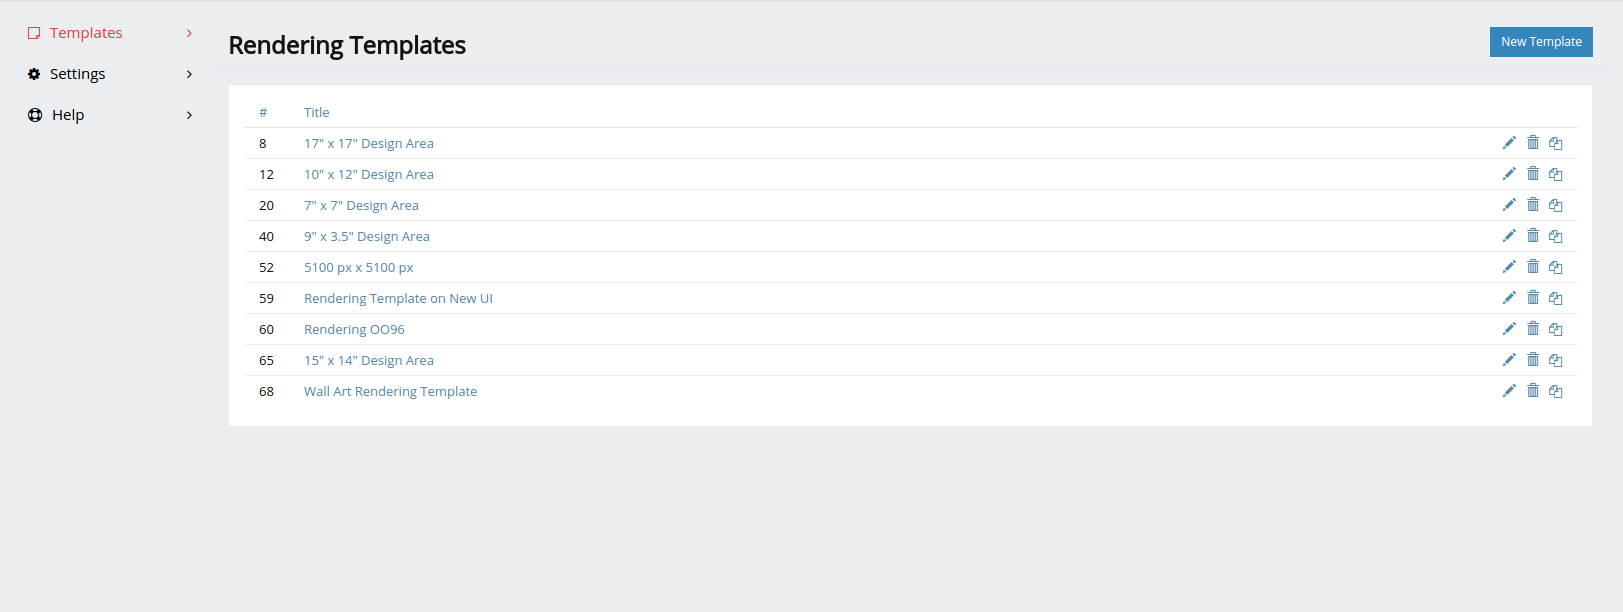
To create a new Rendering Template go to the Rendering Templates page and click on the "New Template" button.
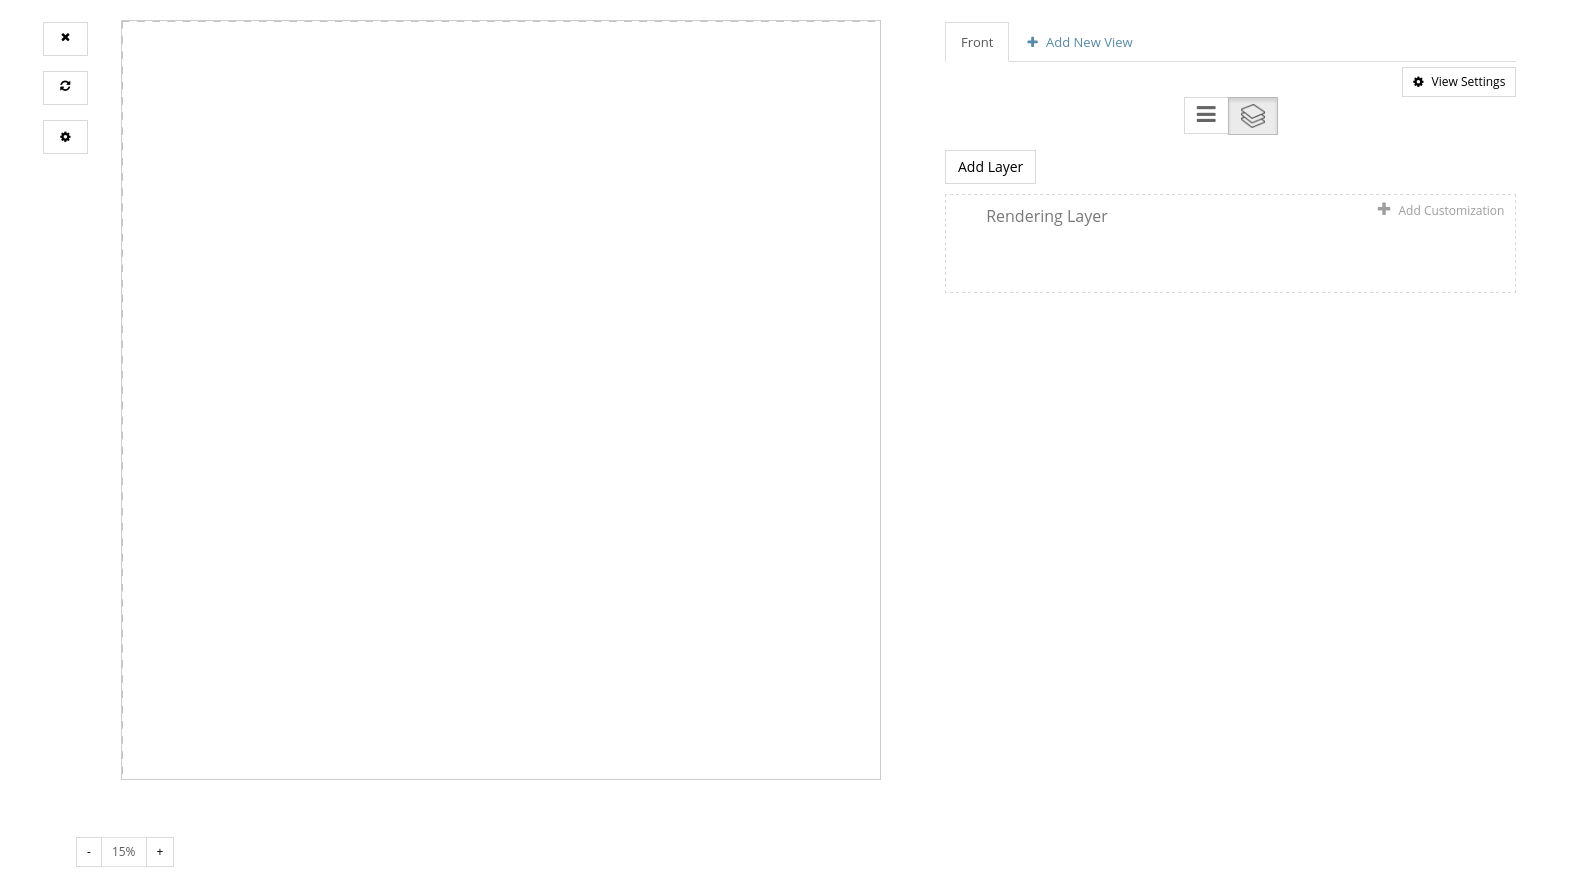
As you will see in the template editor, Rendering Templates are very similar to Customization Templates and you can add the same type of elements.
How to Connect Product Templates with Rendering Templates:
To connect a Product Template with a Rendering Template go to the Product Template's Customizations page and click on the "Rendering Settings" button, which you can see in the left sidebar and has a printer icon. (See screenshot below.).
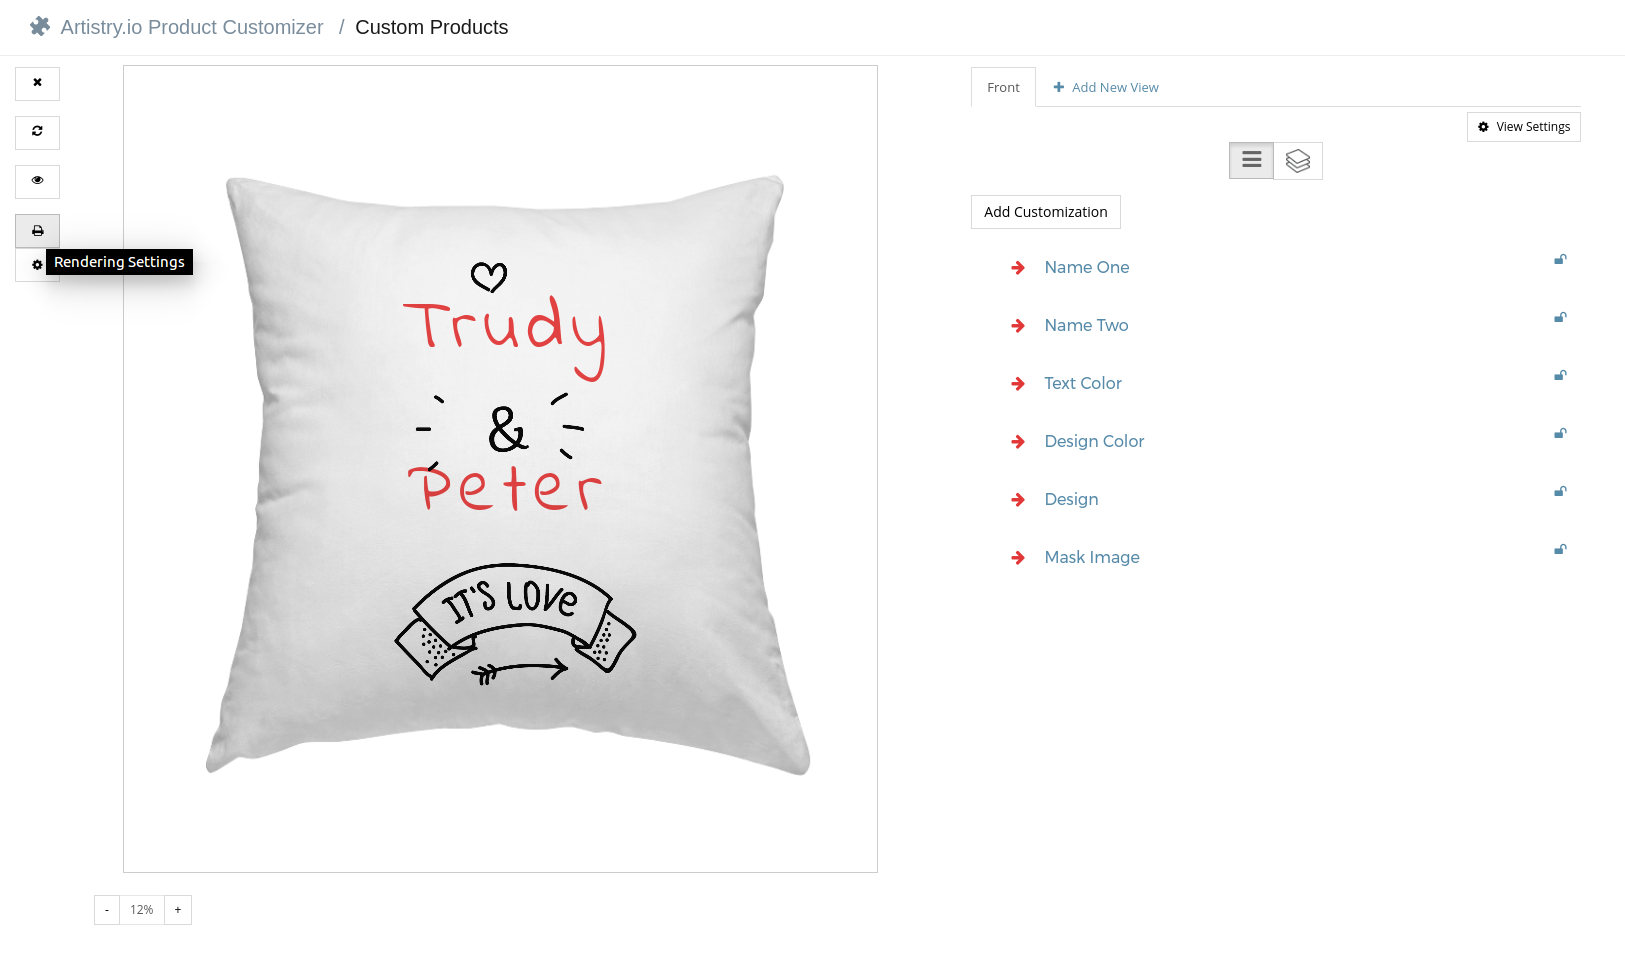
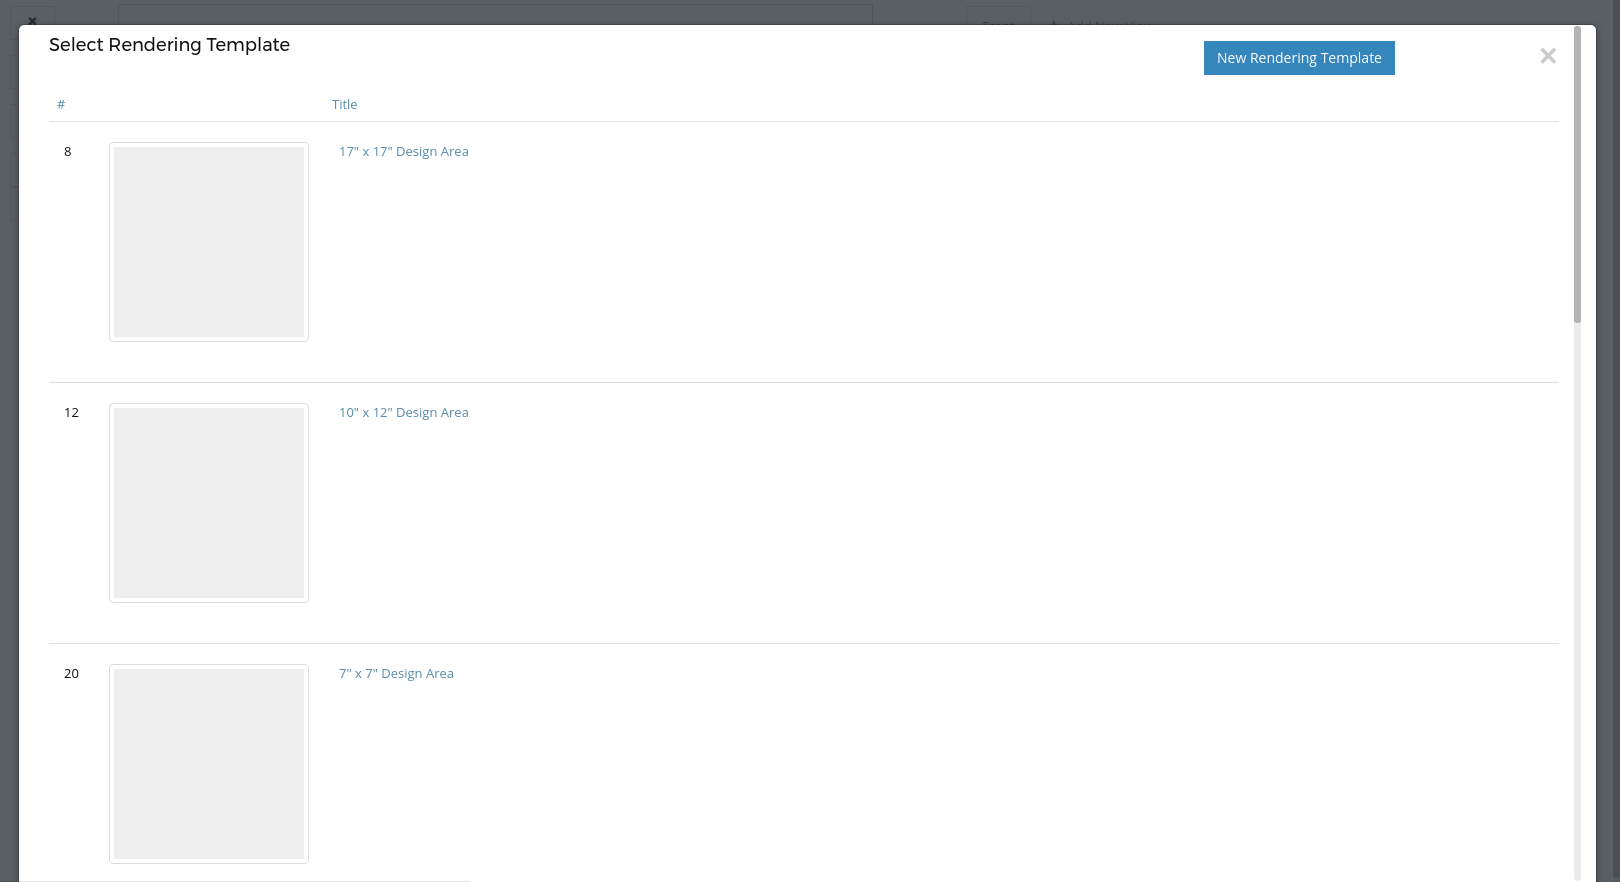
When you click on the "Rendering Settings" button a modal window will open where you can browse and select a Rendering Template to connect with the Product Template.
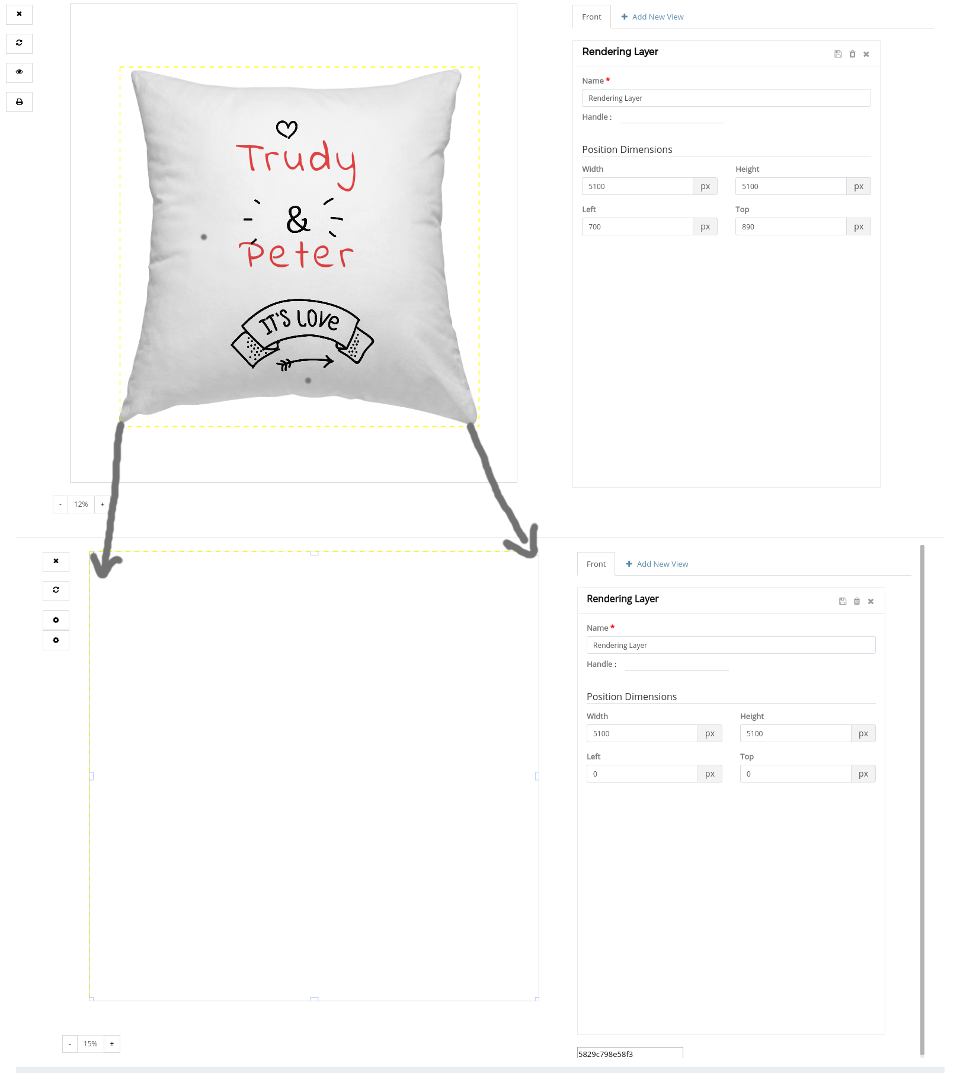
The App will "import" layers from the Product Template into the Rendering Template that match the name of the layers in the Rendering Template. In the pillow example below the Product Template has a layer called "Rendering Layer" which matches the name of a layer in the "Rendering Template". Therefore, the App will take the content from the "Rendering Layer" in the Product Template and render it in the area of the "Rendering Layer" in the Rendering Template.
--