Customizations Elements: Custom Image
The Custom Image element is a single image instance that the customer can change. While you can setup a placeholder image the main purpose of this element is to allow customers to upload their own image.
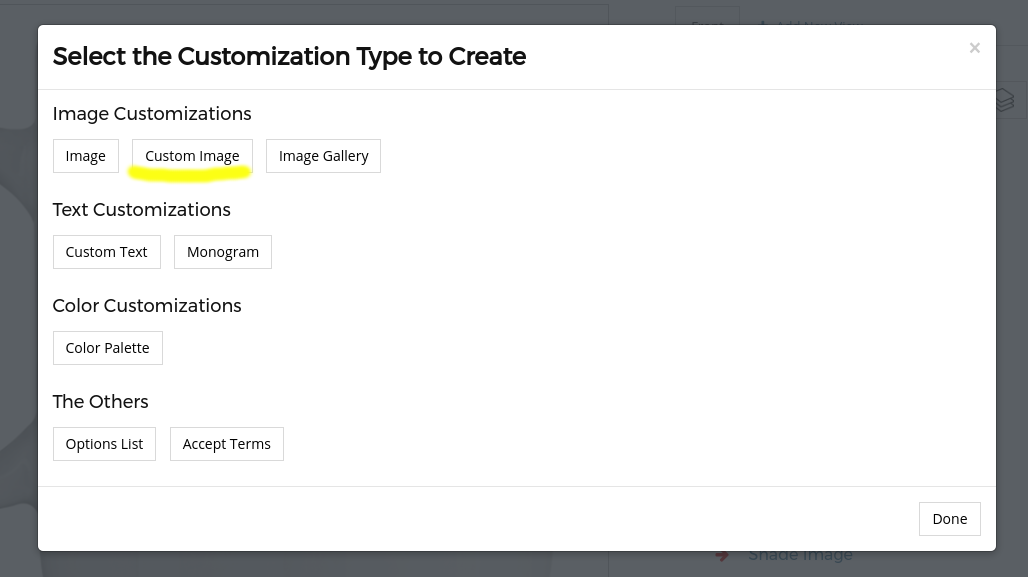
How to add a Custom Image
To add a Custom Image click on the "Add Customization" link or go to the respective layer and click on its "Add Customization" button. In the pop-up window click on the "Image" button.
Settings
To change the Custom Image settings click on the respective element's item in the Elements List area. A pop-up will open with the element's configuration options.
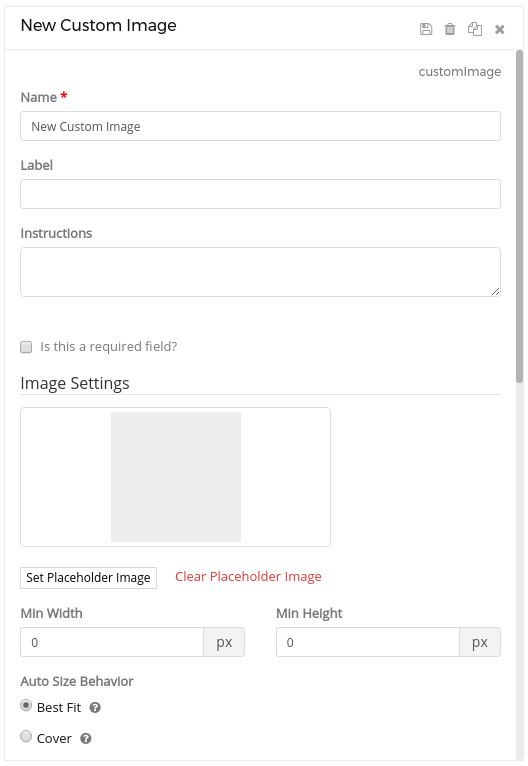
Basic Settings:
Name:
The name or title you want to use for this element. For example: "Custom Image".
Label:
A user friendly text that we will show customers for this element in the options list. For example: "Upload your Own Image".
Instructions:
You can enter specific instructions that we will show customers in the customization widget. For example: "Click the "Upload Image" button to upload your own image. For better results use an image 200px wide x 400px height."
Placeholder Image:
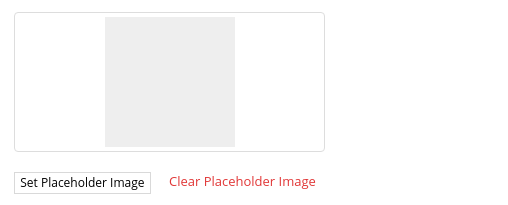
You can setup an image that will serve as placeholder until the customer uploads his own image. To setup a placeholder image click on the "Set Placeholder Image". This will open a pop-up where you can upload an image or use one from your Image Gallery.
To remove the Placeholder Image click on the red "Clear" link.
Image Settings:
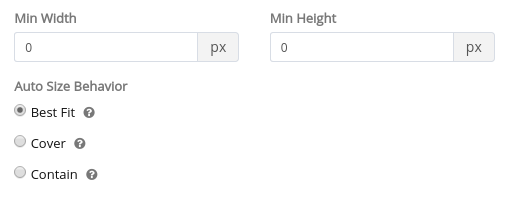
In the Image Settings section you can also set the minimum with and height that you want to allow for the customers image uploads. You can also setup how the App will auto size the customer image when they first upload it. The options are:
- Best Fit: App will resize the image only if the image is larger than the layer, to the largest size such that both its width and its height can fit inside the layer.
- Cover: App will resize image to cover the whole layer. Some parts of the image migh not be visible.
- Contain: App will resize the image to the largest size such that both its width and its height can fit inside the layer.
Shopify Settings:
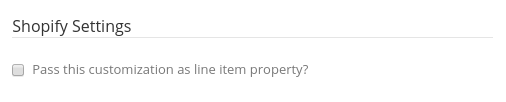
In the Shopify Settings you can check the "Pass this customization as line item property" to allow the App to make this customization a line item property on Shopify.
Position and Dimensions:
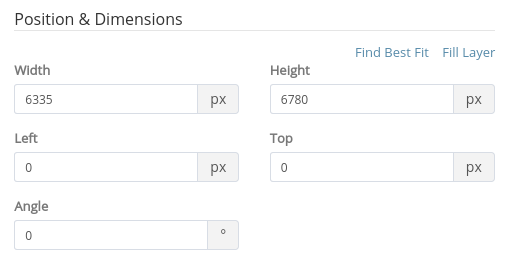
You can enter the Width, Height, Left, Top and Angle values to change the element's dimensions, position or angle / rotation. You can also click on the element in the Graphical Area and move, resize or rotate it. Please remember to click on the element's Save button to apply your changes.
User Manipulations:
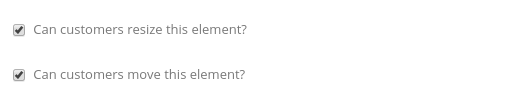
"Can user resize this element?" - Check this option if you want to allow customers to resize the element.
"Can user move this element?" - Check this option if you want to allow customers to move and rotate the element.
Conditions:
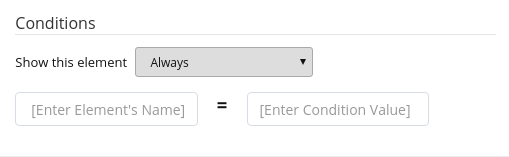
In the Conditions section you can add a conditional statement to this customization. To enable, enter the other Element's Name and the Condition Value. This customization will be hidden until the customer enter or selects the applicable Condition Value.