Customizations Elements: Custom Text
With the Custom Text customization you can setup a textbox that customers can use to add one or more custom text elements to their products.
How to add a Custom Text
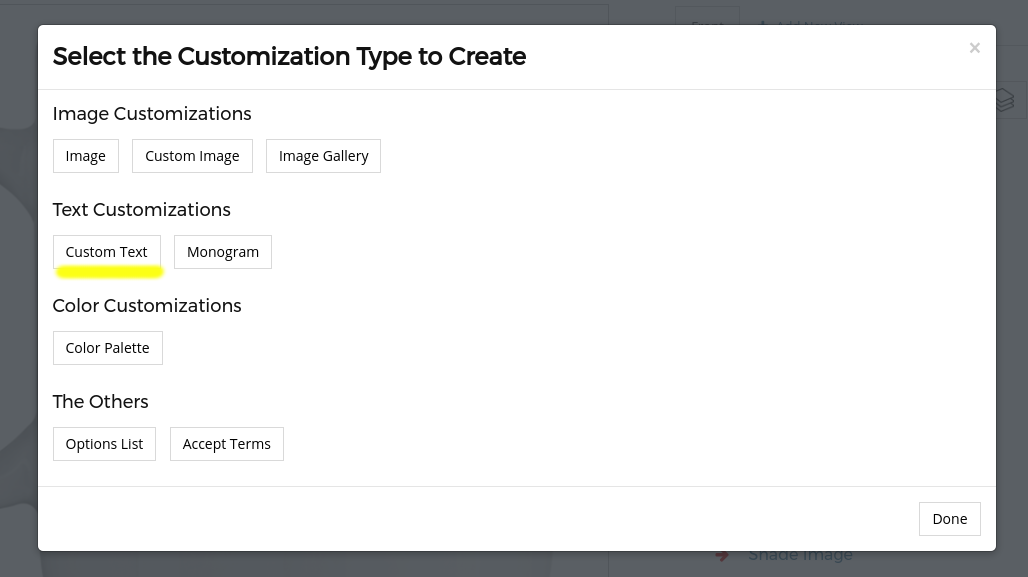
To add an Custom Text click on the "Add Customization" link or go to the respective layer and click on its "Add Customization" button. In the pop-up window click on the "Custom Text" button.
Settings
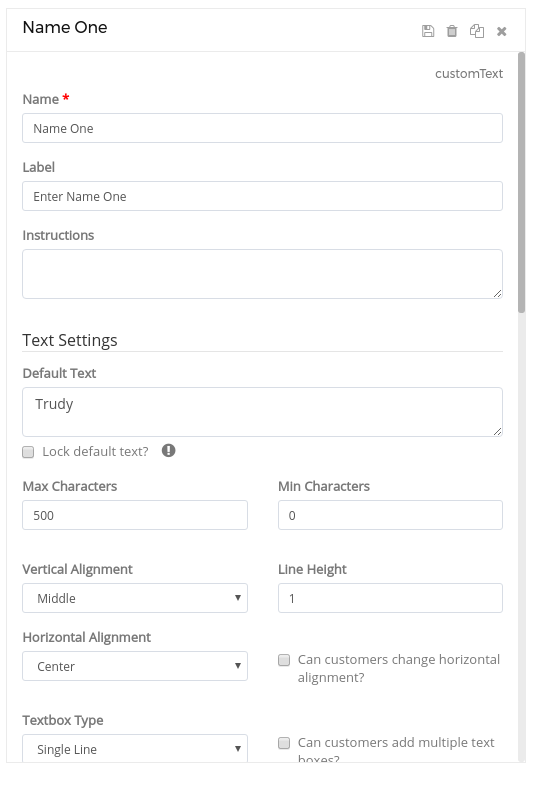
To change the Custom Text settings click on the respective customization's item in the Customizations List area. A pop-up will open with the settings options.
Basic Settings:
Name:
The name or title you want to use for this element. For example: "Custom Image".
Label:
A user friendly text that we will show customers for this element in the options list. For example: "Upload your Own Image".
Instructions:
You can enter specific instructions that we will show customers in the customization widget.
Default Text:
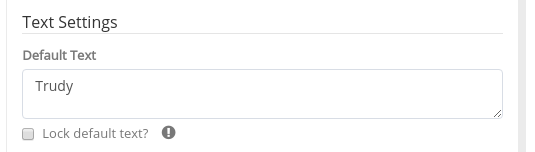
The Default Text is optional and will be the text initially loaded by the App before the customer enters their custom text. If you enable / check "Lock default text?" customers will not be able to enter their own text, which is good for when you want to display text in the customizer but do not want to allow customers to change it.
Max and Min Characters:

With the Max and Min Characters you can set the maximum and minimum characters that customers can enter. Adding a Min Character of at least 1 will make the customization required.
Alignment:

In the Alignment inputs you can specify how the text will be aligned in relation to its containing textbox. Note: This will not set the align of the textbox in relation to its layer or to the whole view.
Textbox Type & Multiple text boxes:

In the Textbox Type dropdown you can select whether the textbox is a single line or multiple lines. If you check the "Can customers add multiple text boxes?" then customers will be able to add more textboxes like this one.
Font Size:
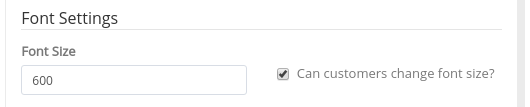
In the Font Size input you can enter the size of the font for this text customization. If you check "Can customers change font size?" the customizer will display buttons to allow customers to change the size of font.
Font Color:
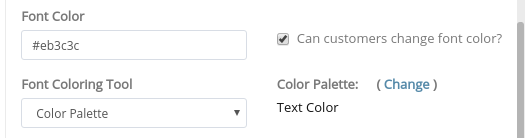
In the Font Color input you can enter or pick the color of the text when first loaded. If you check "Can customers change font color?" the customizer will display a tool to allow customers to change the color of the font. In the Font Coloring Tool you can select the tool that the customizer will display to allow customers to change the color of the font. There are 2 options:
1- Free Color Picker: If you select Free Color Picker the customizer will display a color picker tool and customers can pick any color they want.
2- Color Palette: If you select Color Palette, in the Color Palette section click on "Change" to set the applicable Color Palette.
Font Type:

In the Font Type drop down list you can select the font type for this text element. You can click on the "Font Type Options" to add font type options and allow customers to change the font type for this text.
Curved Text:

In the Curved Text section you can enable / check "Apply curved text effect on this text?" to display the text in a curved shape.
Shopify Settings:
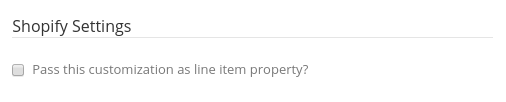
In the Shopify Settings you can check the "Pass this customization as line item property" to allow the App to make this customization a line item property on Shopify.
Position and Dimensions:
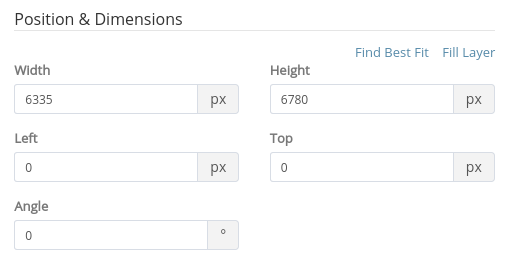
You can enter the Width, Height, Left, Top and Angle values to change the element's dimensions, position or angle / rotation. You can also click on the element in the Graphical Area and move, resize or rotate it. Please remember to click on the element's Save button to apply your changes.
User Manipulations:
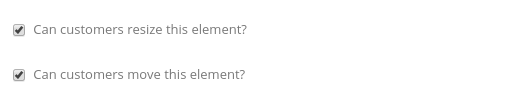
"Can user resize this element?" - Check this option if you want to allow customers to resize the element.
"Can user move this element?" - Check this option if you want to allow customers to move and rotate the element.
Conditions:
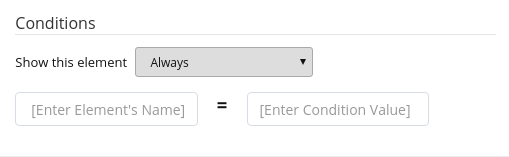
In the Conditions section you can add a conditional statement to this customization. To enable, enter the other Element's Name and the Condition Value. This customization will be hidden until the customer enter or selects the applicable Condition Value.