Customizations Elements: Monogram
How to add a Monogram
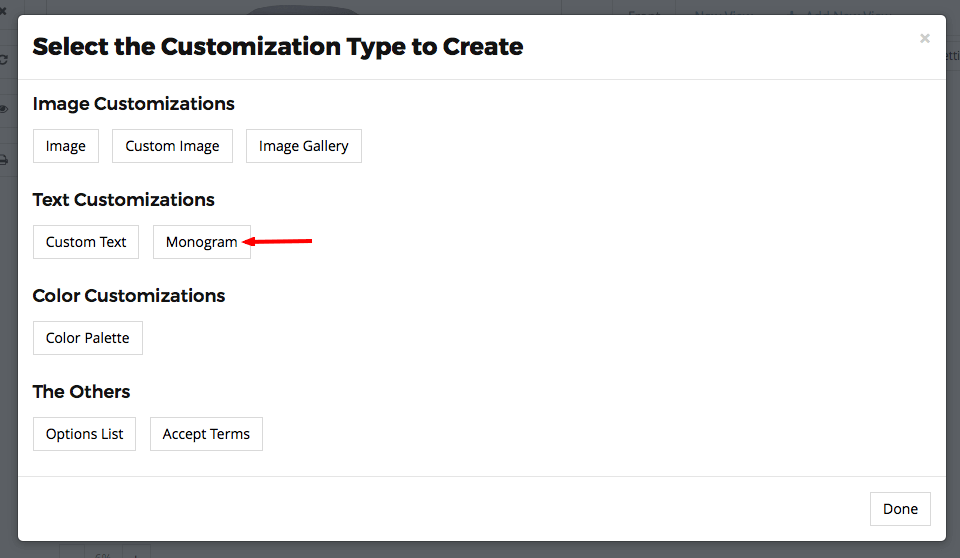
To add a Monogram click on the “Add Customization” link or go to the respective layer and click on it’s “Add Customization” button. In the pop-up window click on the “Monogram” button.
Settings
To change the Monogram settings click on the respective customization’s item in the Customizations List area. A pop-up will open with the setting’s options.
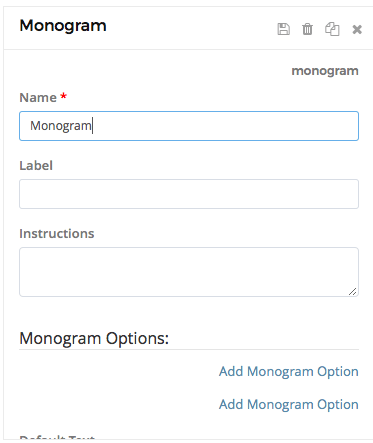
Basic Settings:
Name: The name or title you want to use for this element. For example “Monogram“.
Label: A user-friendly text that we will show customers for this element in the options list. For example “Monogram”.
Instructions: You can enter specific instructions that we will show customers in the customization widget.
Monogram Options:
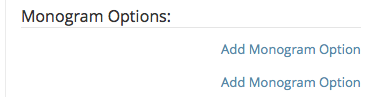
Add Monogram Option:
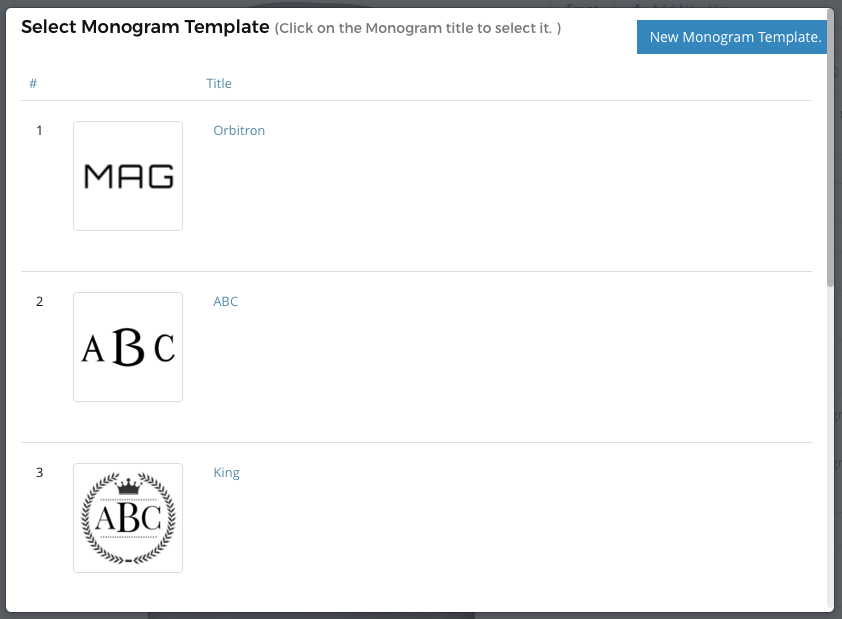
To use an existing monogram, click on the template you would like to use.
To create your own monogram, or modify an existing template, click on New Monogram Template.
New Monogram Template:
To modify an existing monogram template, click on the template you'd like to edit and follow the instructions for Custom Text starting at the Settings subheading. Once you're done, come back to this article and skip over to this section.
If you want to create your own monogram template, click on Start from Scratch.
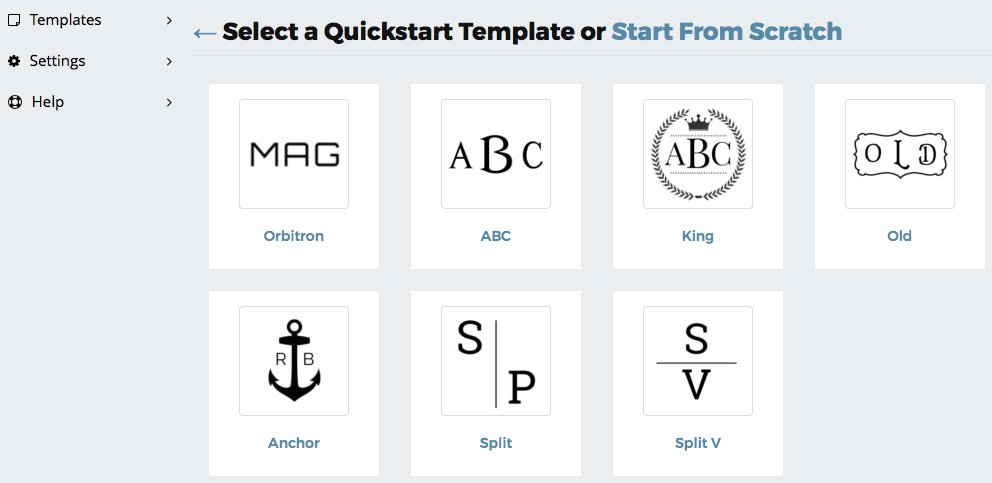
Start From Scratch Options:
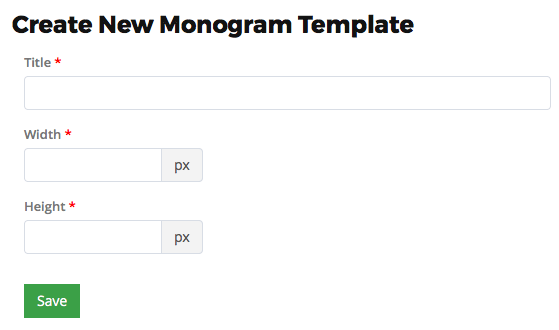
To your monogram template from scratch, give your monogram a name, and input the dimensions. Then click Save and follow these instructions for help setting up your background image.
To set up the text for your new monogram, simply click to create a new Custom Text layer and follow the instructions for Custom Text.
Once you've Selected Your Monogram:
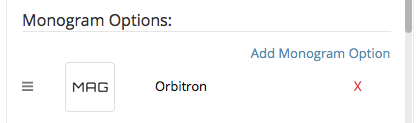
Your Monogram Options will look something like this once you've selected your monogram:
Default Text:
The Default Text is optional and will be the text initially loaded by the App before the customer enters their custom text.

Coloring Settings:
In this section, you can either create a new color palette or select an existing palette.
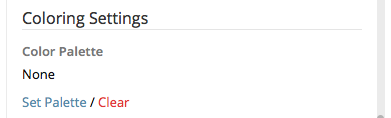
If you have an existing color palette:
Click on Set Palette, and select your palette.
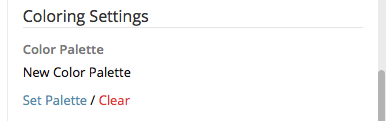
To create a new color palette
Click on Set Palette and follow the instructions on the following page: click here to open it in a new tab then return here to continue.
If you just created a new color palette, make sure you click on the save icon at the top of the section.
Then click the x.
Next click on your monogram options, scroll back down to the Coloring Settings, click on “Set Palette” and select your newly created color palette.
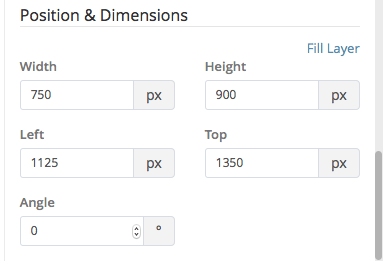
Position & Dimensions:
You can enter the Width, Height, Left, Top and Angle values to change the element’s dimensions, position or angle/rotation. You can also click on the element in the Graphical Area and move, resize or rotate it. Please remember to click on the element’s Save button to apply your changes.
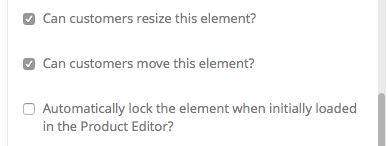
User Manipulations:
”Can customers resize this element?” - Check this option if you want to allow customers to resize the element.
”Can customers move this element?” - Check this option if you want to allow customers to move and rotate the element.
”Automatically lock the element when initially loaded in the Product Editor?”
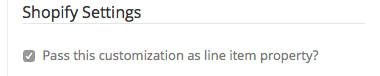
Shopify Settings:
In the Shopify Settings, you can check the “Pass this customization as line item property” to allow the App to make this customization a line item property on Shopify.
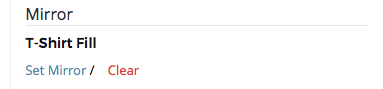
Mirror
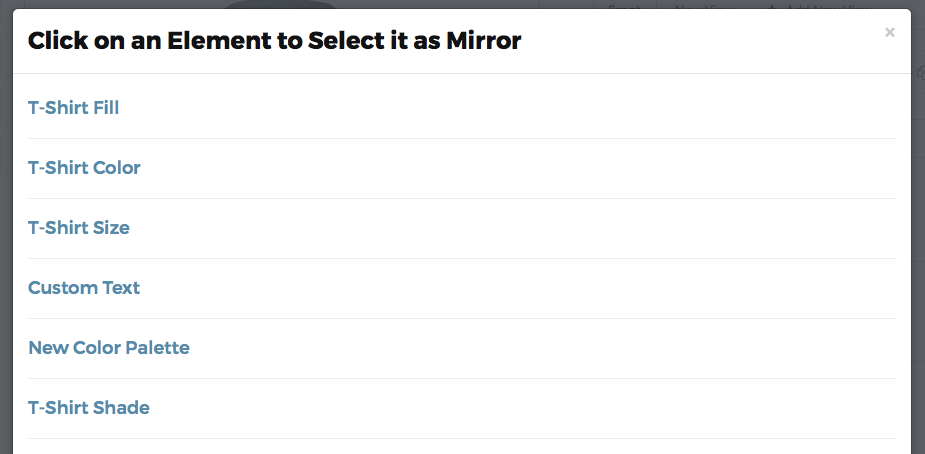
Set Mirror
Once you’ve selected an element as a Mirror, you should see your element’s name in the Mirror section.
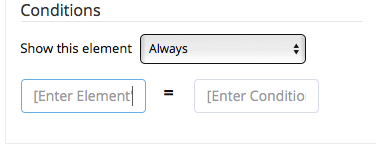
Conditions:
In the Conditions section, you can add a conditional statement to this customization. To enable, enter the other Element’s Name and the Condition Value. This customization will be hidden until the customer enters or selects the applicable Condition Value.